How to get $AVAX
TL;DR
To buy $BEYOND tokens, you need $AVAX. The $BEYOND token is deployed to the Avalanche network, which operates with the $AVAX currency. eg. gas is paid with $AVAX.
You have a couple of options to get it.
Important points:
Avalanche has multiple networks, and we're always using C-Chain aka. AVAX-C
Your wallet address will be the same as on the normal Ethereum network
You can either purchase the $AVAX directly on a popular exchange (like Coinbase) or bridge your funds from Ethereum network. It's generally cheaper to buy directly.
How to get it
Purchase directly
It is generally cheaper to purchase on a major exchange and send it to your wallet, rather than bridging. We've verified that it's possible on Coinbase and Crypto.com . Others may work too.
Coinbase
Purchasing $AVAX on Coinbase is probably the easiest method. After purchasing, simply send it to your normal Ethereum wallet address (it's the same address as the Ethereum network, which you can copy+paste from MetaMask), and it will appear when you switch to the Avalanche network to MetaMask.
Crypto.com
Buying $AVAX on crypto.com allows you to send it directly to your MetaMask wallet.
Make sure that you choose the 'AVAX-C' option, which will allow you to enter your normal Ethereum wallet address.
Bridge funds from Ethereum
Bridging funds from Ethereum happens in two main steps:
Bridge Ethereum from the Ethereum network to the Avalanche network
Swap Ethereum for AVAX on the Avalanche network
Note: this is the more expensive route, and requires paying gas more than once.
Go to the official Avalanche bridge to start: https://bridge.avax.network/login and make your settings look like the screenshot below.
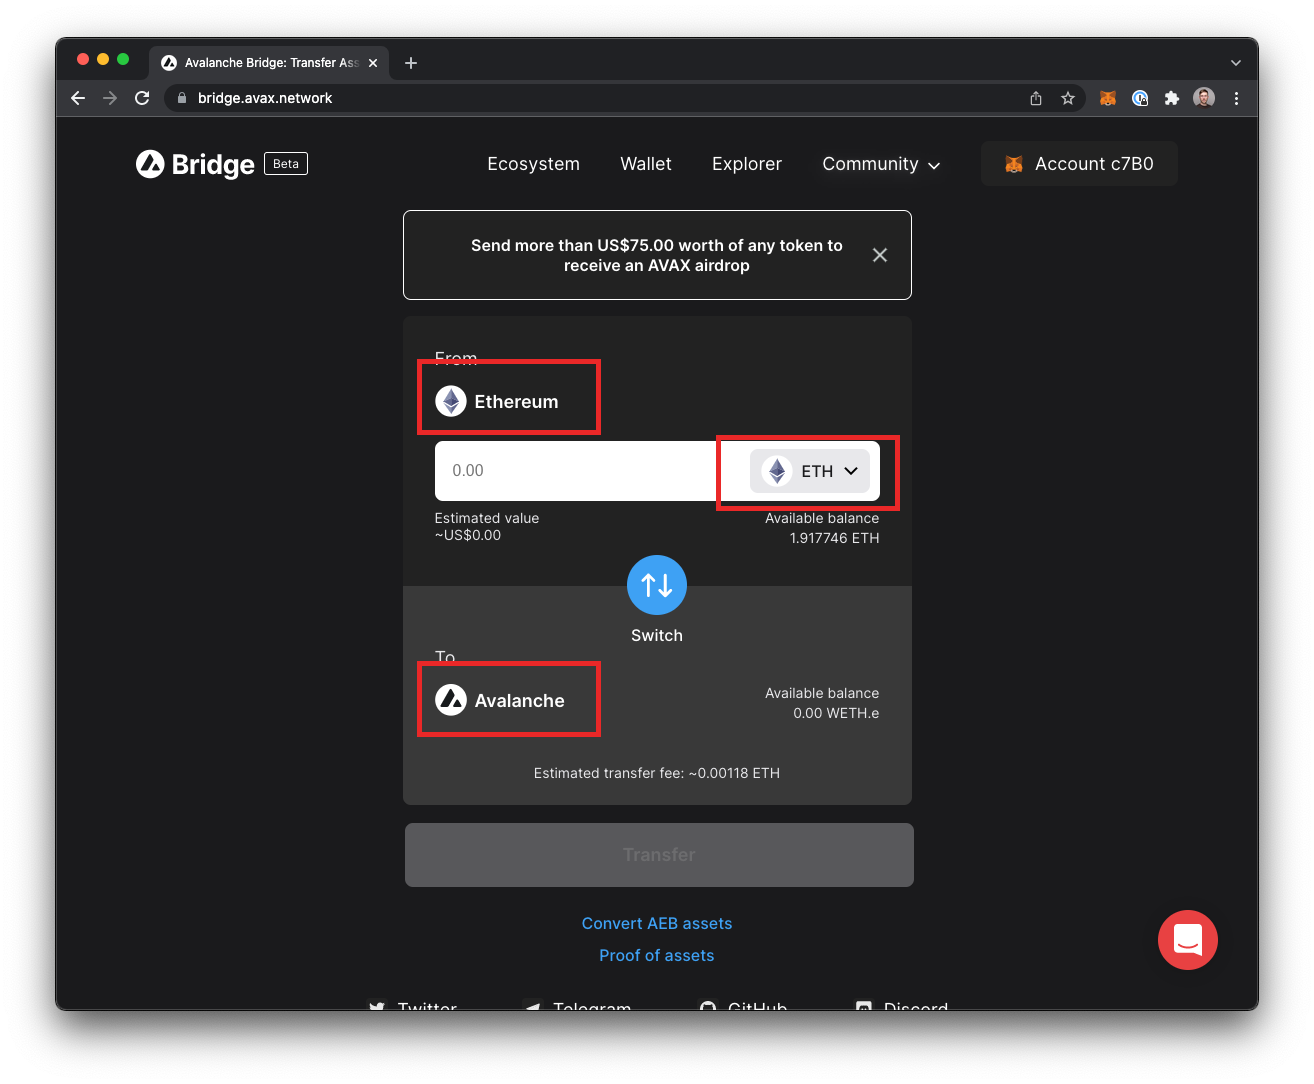
2. Select How much Ethereum you would like to bridge, and follow the prompts to continue. Note that this action costs gas, and can take 10-12 minutes or so. Once this process has completed, you will have 'Wrapped' Ethereum (WETH) on the Avalanche network.
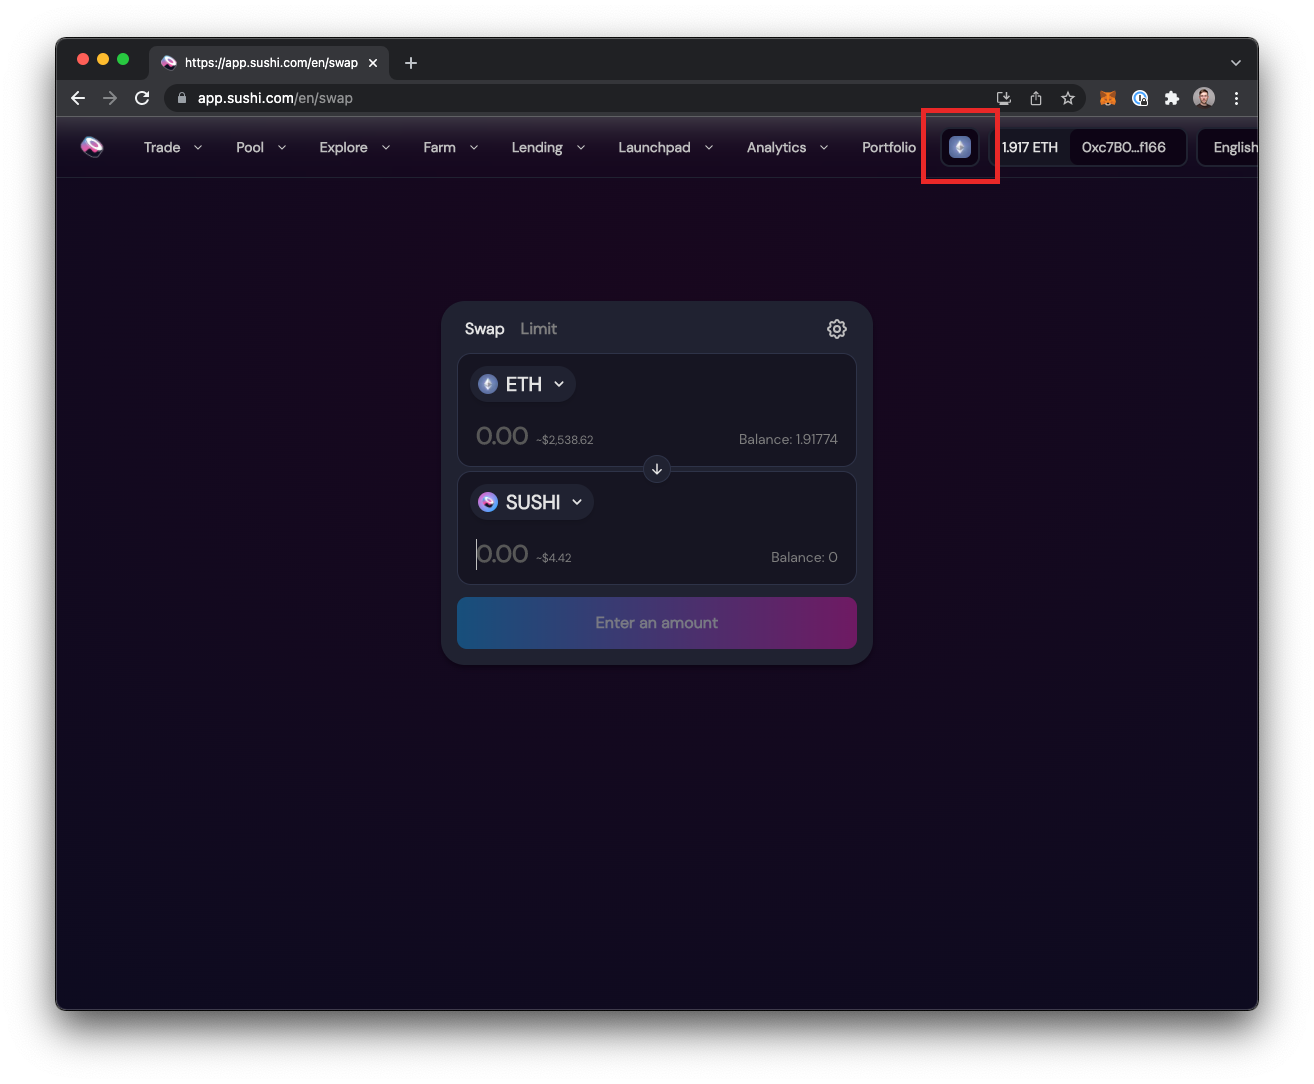
3. Swap your WETH for AVAX using Sushi Swap: https://app.sushi.com/en/swap
4. Switch to the Avalanche network, using the control in the screenshot below:
5. Make sure your settings look like this, and then follow the prompts to continue
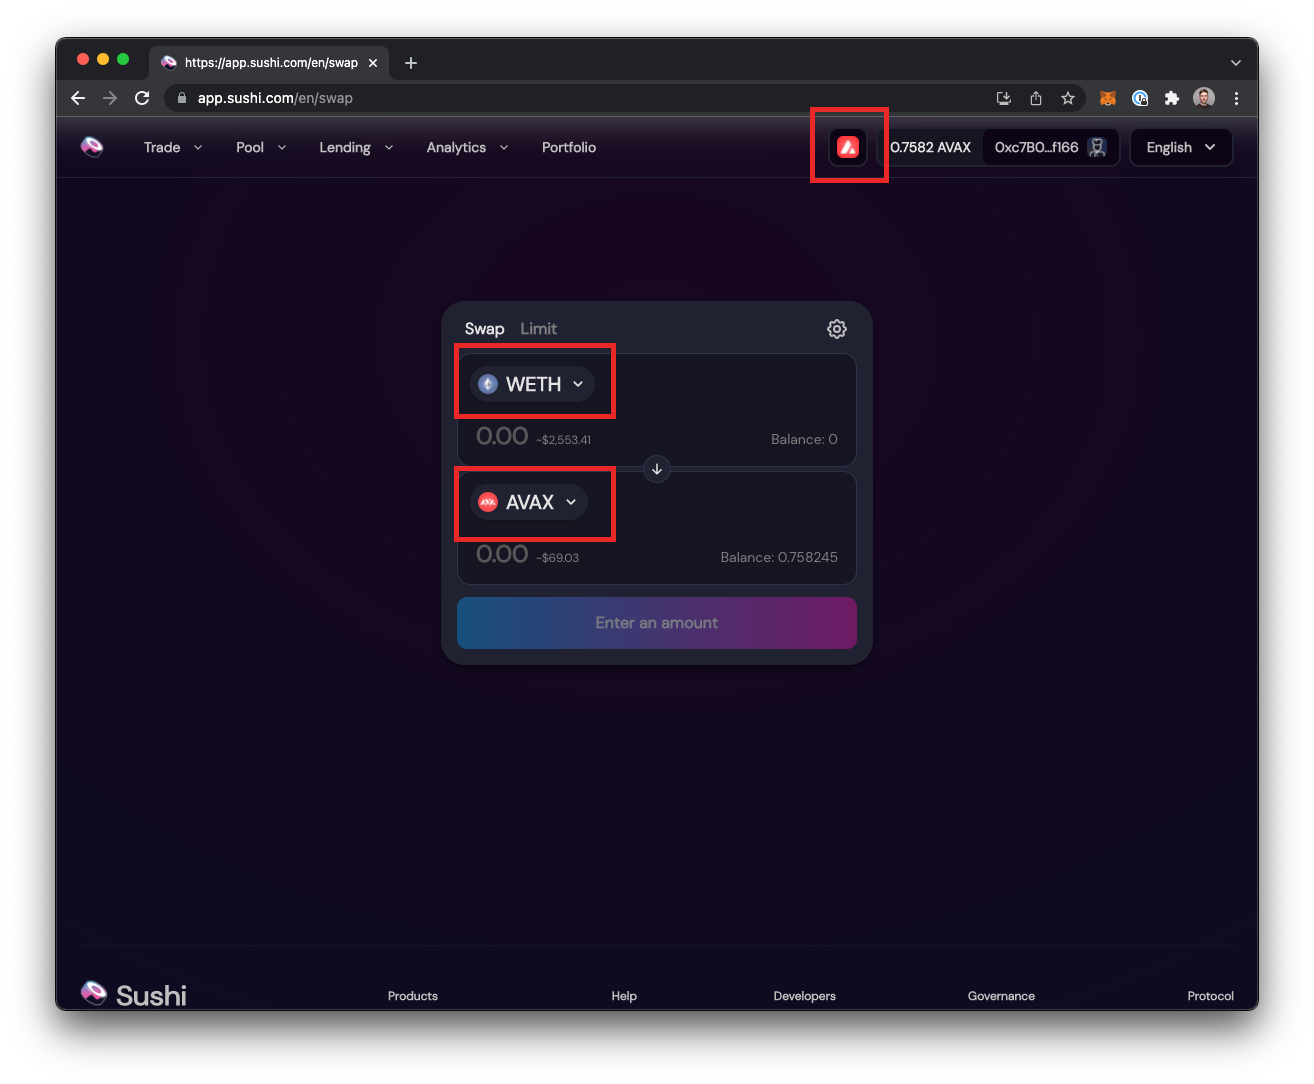
6. Once this process completes, you will have $AVAX in your wallet, on the Avalanche network. You're ready to go!